Airflow 101: Building Your First Workflow
Welcome to world of Apache Airflow! In this tutorial, we’ll guide you through the essential concepts of Airflow, helping you understand how to write your first DAG. Whether you’re familiar with Python or just starting out, we’ll make the journey enjoyable and straightforward.
What is a DAG?
At its core, a DAG is a collection of tasks organized in a way that reflects their relationships and dependencies. It’s like a roadmap for your workflow, showing how each task connects to the others. Don’t worry if this sounds a bit complex; we’ll break it down step by step.
Example Pipeline definition
Let’s start with a simple example of a pipeline definition. Although it might seem overwhelming at first, we’ll explain each line in detail.
src/airflow/example_dags/tutorial.py
import textwrap
from datetime import datetime, timedelta

# Operators; we need this to operate!
from airflow.providers.standard.operators.bash import BashOperator

# The DAG object; we'll need this to instantiate a DAG
from airflow.sdk import DAG
with DAG(
"tutorial",
# These args will get passed on to each operator
# You can override them on a per-task basis during operator initialization
default_args={
    "depends_on_past": False,
    "retries": 1,
    "retry_delay": timedelta(minutes=5),
    # 'queue': 'bash_queue',
    # 'pool': 'backfill',
    # 'priority_weight': 10,
    # 'end_date': datetime(2016, 1, 1),
    # 'wait_for_downstream': False,
    # 'execution_timeout': timedelta(seconds=300),
    # 'on_failure_callback': some_function, # or list of functions
    # 'on_success_callback': some_other_function, # or list of functions
    # 'on_retry_callback': another_function, # or list of functions
    # 'sla_miss_callback': yet_another_function, # or list of functions
    # 'on_skipped_callback': another_function, #or list of functions
    # 'trigger_rule': 'all_success'
},
description="A simple tutorial DAG",
schedule=timedelta(days=1),
start_date=datetime(2021, 1, 1),
catchup=False,
tags=["example"],
) as dag:
# t1, t2 and t3 are examples of tasks created by instantiating operators
t1 = BashOperator(
task_id="print_date",
bash_command="date",
)
t2 = BashOperator(
task_id="sleep",
depends_on_past=False,
bash_command="sleep 5",
retries=3,
)
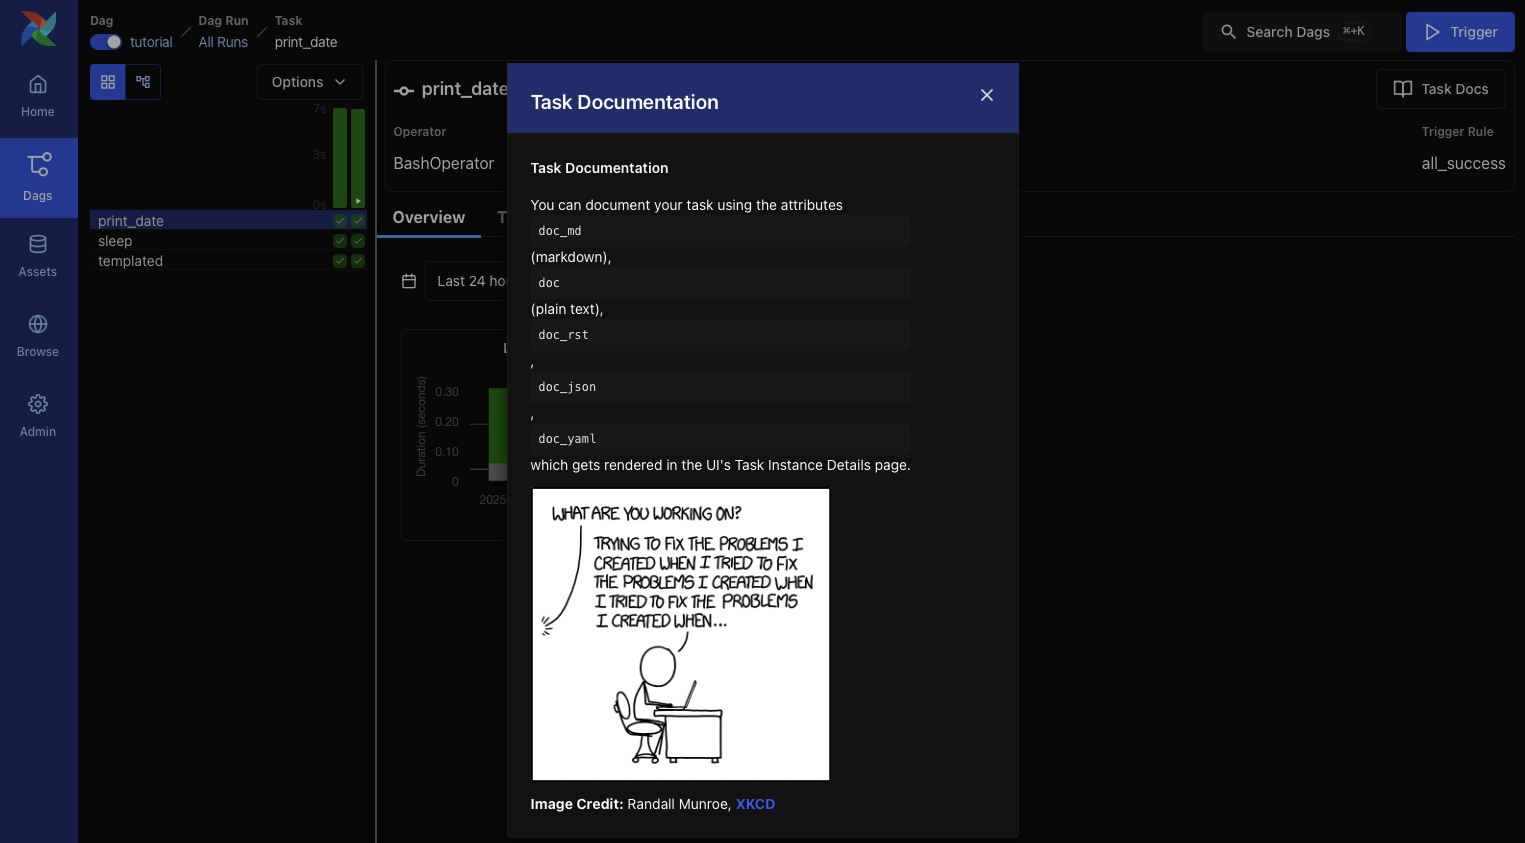
t1.doc_md = textwrap.dedent(
"""\
#### Task Documentation
You can document your task using the attributes `doc_md` (markdown),
`doc` (plain text), `doc_rst`, `doc_json`, `doc_yaml` which gets
rendered in the UI's Task Instance Details page.

**Image Credit:** Randall Munroe, [XKCD](https://xkcd.com/license.html)
"""
)
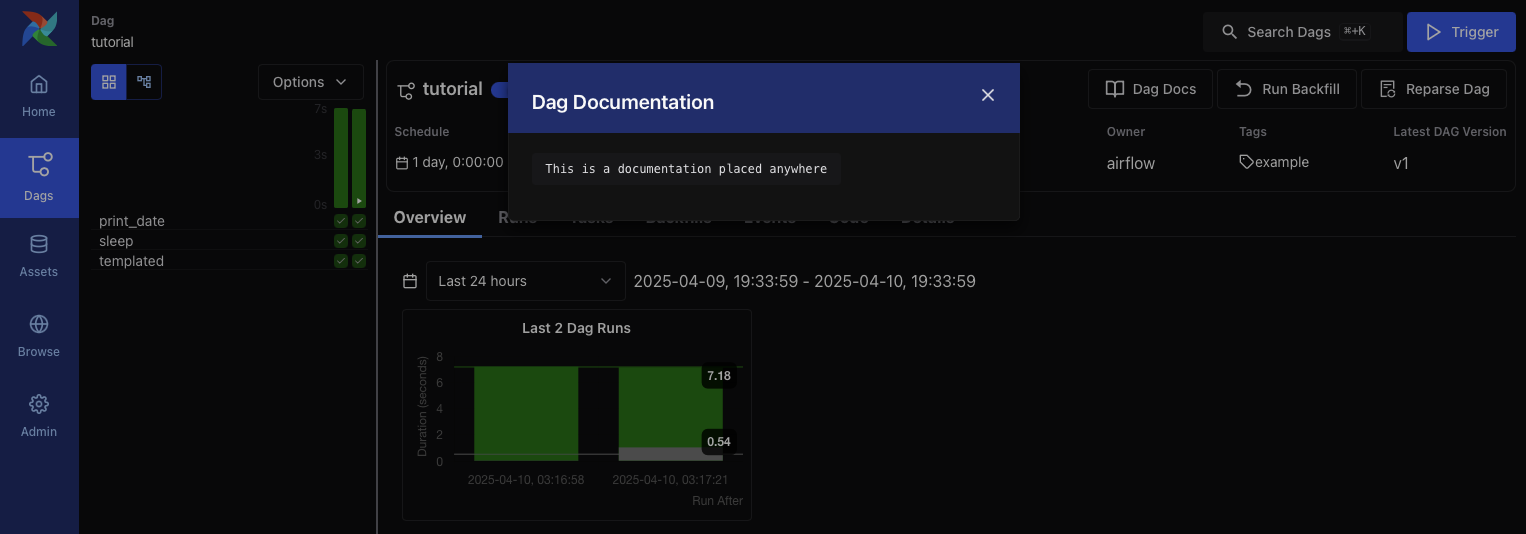
dag.doc_md = __doc__ # providing that you have a docstring at the beginning of the DAG; OR
dag.doc_md = """
This is a documentation placed anywhere
""" # otherwise, type it like this
templated_command = textwrap.dedent(
"""
{% for i in range(5) %}
echo "{{ ds }}"
echo "{{ macros.ds_add(ds, 7)}}"
{% endfor %}
"""
)
t3 = BashOperator(
task_id="templated",
depends_on_past=False,
bash_command=templated_command,
)
t1 >> [t2, t3]
Understanding the DAG Definition File
Think of the Airflow Python script as a configuration file that lays out the structure of your DAG in code. The actual tasks you define here run in a different environment, which means this script isn’t meant for data processing. It’s main job is to define the DAG object, and it needs to evaluate quickly since the DAG File Processor checks it regularly for any changes.
Importing Modules
To get started, we need to import the necessary libraries. This is a typical first step in any Python script.
src/airflow/example_dags/tutorial.py
import textwrap
from datetime import datetime, timedelta
# Operators; we need this to operate!
from airflow.providers.standard.operators.bash import BashOperator
# The DAG object; we'll need this to instantiate a DAG
from airflow.sdk import DAG
For more details on how Python and Airflow handle modules, check out Modules Management.
Setting Default Arguments
When creating a DAG and its tasks, you can either pass arguments directly to each task or define a set of default parameters in a dictionary. The latter approach is usually more efficient and cleaner.
src/airflow/example_dags/tutorial.py
# These args will get passed on to each operator
# You can override them on a per-task basis during operator initialization
default_args={
"depends_on_past": False,
"retries": 1,
"retry_delay": timedelta(minutes=5),
# 'queue': 'bash_queue',
# 'pool': 'backfill',
# 'priority_weight': 10,
# 'end_date': datetime(2016, 1, 1),
# 'wait_for_downstream': False,
# 'execution_timeout': timedelta(seconds=300),
# 'on_failure_callback': some_function, # or list of functions
# 'on_success_callback': some_other_function, # or list of functions
# 'on_retry_callback': another_function, # or list of functions
# 'sla_miss_callback': yet_another_function, # or list of functions
# 'on_skipped_callback': another_function, #or list of functions
# 'trigger_rule': 'all_success'
},
If you want to dive deeper into the parameters of the BaseOperator, take a look at the documentation for
airflow.sdk.BaseOperator documentation.
Creating a DAG
Next, we’ll need to create a DAG object to house our tasks. We’ll provide a unique identifier for the DAG, known as the
dag_id, and specify the default arguments we just defined. We’ll also set a schedule for our DAG to run every day.
src/airflow/example_dags/tutorial.py
with DAG(
    "tutorial",
    # These args will get passed on to each operator
    # You can override them on a per-task basis during operator initialization
    default_args={
        "depends_on_past": False,
        "retries": 1,
        "retry_delay": timedelta(minutes=5),
        # 'queue': 'bash_queue',
        # 'pool': 'backfill',
        # 'priority_weight': 10,
        # 'end_date': datetime(2016, 1, 1),
        # 'wait_for_downstream': False,
        # 'execution_timeout': timedelta(seconds=300),
        # 'on_failure_callback': some_function, # or list of functions
        # 'on_success_callback': some_other_function, # or list of functions
        # 'on_retry_callback': another_function, # or list of functions
        # 'sla_miss_callback': yet_another_function, # or list of functions
        # 'on_skipped_callback': another_function, #or list of functions
        # 'trigger_rule': 'all_success'
    },
    description="A simple tutorial DAG",
    schedule=timedelta(days=1),
    start_date=datetime(2021, 1, 1),
    catchup=False,
    tags=["example"],
) as dag:
Understanding Operators
An operator represents a unit of work in Airflow. They are the building blocks of your workflows, allowing you to define what tasks will be executed. While we can use operators for many tasks, Airflow also offers the Taskflow API for a more Pythonic way to define workflows, which we’ll touch on later.
All operators derive from the BaseOperator, which includes the essential arguments needed to run tasks in Airflow.
Some popular operators include the PythonOperator, BashOperator, and KubernetesPodOperator. In this tutorial, we’ll
focus on the BashOperator to execute some simple bash commands.
Defining Tasks
To use an operator, you must instantiate it as a task. Tasks dictate how the operator will perform its work within the
DAG’s context. In the example below, we instantiate the BashOperator twice to run two different bash scripts. The
task_id serves as a unique identifier for each task.
src/airflow/example_dags/tutorial.py
t1 = BashOperator(
    task_id="print_date",
    bash_command="date",
)

t2 = BashOperator(
    task_id="sleep",
    depends_on_past=False,
    bash_command="sleep 5",
    retries=3,
)
Notice how we mix operator-specific arguments (like bash_command) with common arguments (like retries) inherited
from BaseOperator. This approach simplifies our code. In the second task, we even override the retries parameter to
set it to 3.
The precedence for task arguments is as follows:
Explicitly passed arguments
Values from the
default_argsdictionaryThe operator’s default values, if available
Note
Remember, every task must include or inherit the arguments task_id and owner. Otherwise, Airflow will raise an
error. Fortunately, a fresh Airflow installation defaults the owner to airflow, so you mainly need to ensure
task_id is set.
Using Jinja for Templating
Airflow harnesses the power of Jinja Templating, giving you access to
built-in parameters and macros to enhance your workflows. This section will introduce you to the basics of templating in
Airflow, focusing on the commonly used template variable: {{ ds }}, which represents today’s date stamp.
src/airflow/example_dags/tutorial.py
templated_command = textwrap.dedent(
    """
{% for i in range(5) %}
    echo "{{ ds }}"
    echo "{{ macros.ds_add(ds, 7)}}"
{% endfor %}
"""
)

t3 = BashOperator(
    task_id="templated",
    depends_on_past=False,
    bash_command=templated_command,
)
You’ll notice that the templated_command includes logic in {% %} blocks and references parameters like
{{ ds }}. You can also pass files to the bash_command, such as bash_command='templated_command.sh', allowing
for better organization of your code. You can even define user_defined_macros and user_defined_filters to create
your own variables and filters for use in templates. For more on custom filters, refer to the
Jinja Documentation.
For more information on the variables and macros that can be referenced in templates, please read through the Templates reference.
Adding DAG and Tasks documentation
You can add documentation to your DAG or individual tasks. While DAG documentation currently supports markdown, task documentation can be in plain text, markdown reStructuredText, JSON, or YAML. It’s a good practice to include documentation at the start of your DAG file.
src/airflow/example_dags/tutorial.py
t1.doc_md = textwrap.dedent(
"""\
#### Task Documentation
You can document your task using the attributes `doc_md` (markdown),
`doc` (plain text), `doc_rst`, `doc_json`, `doc_yaml` which gets
rendered in the UI's Task Instance Details page.

**Image Credit:** Randall Munroe, [XKCD](https://xkcd.com/license.html)
"""
)
dag.doc_md = __doc__ # providing that you have a docstring at the beginning of the DAG; OR
dag.doc_md = """
This is a documentation placed anywhere
""" # otherwise, type it like this
Setting up Dependencies
In Airflow, tasks can depend on one another. For instance, if you have tasks t1, t2, and t3, you can defined
their dependencies in several ways:
t1.set_downstream(t2)

# This means that t2 will depend on t1
# running successfully to run.
# It is equivalent to:
t2.set_upstream(t1)

# The bit shift operator can also be
# used to chain operations:
t1 >> t2

# And the upstream dependency with the
# bit shift operator:
t2 << t1

# Chaining multiple dependencies becomes
# concise with the bit shift operator:
t1 >> t2 >> t3

# A list of tasks can also be set as
# dependencies. These operations
# all have the same effect:
t1.set_downstream([t2, t3])
t1 >> [t2, t3]
[t2, t3] << t1
Be mindful that Airflow will raise errors if it detects cycles in your DAG or if a dependency is referenced multiple times.
Working with Time Zones
Creating a time zone aware DAG straightforward. Just ensure you use time zone aware dates
with pendulum. Avoid using the standard library
timezone as they have known limitations.
Recap
Congratulations! By now, you should have a basic understanding of how to create a DAG, define tasks and their dependencies, and use templating in Airflow. Your code should resemble the following:
src/airflow/example_dags/tutorial.py
import textwrap
from datetime import datetime, timedelta
# Operators; we need this to operate!
from airflow.providers.standard.operators.bash import BashOperator
# The DAG object; we'll need this to instantiate a DAG
from airflow.sdk import DAG
with DAG(
"tutorial",
# These args will get passed on to each operator
# You can override them on a per-task basis during operator initialization
default_args={
"depends_on_past": False,
"retries": 1,
"retry_delay": timedelta(minutes=5),
# 'queue': 'bash_queue',
# 'pool': 'backfill',
# 'priority_weight': 10,
# 'end_date': datetime(2016, 1, 1),
# 'wait_for_downstream': False,
# 'execution_timeout': timedelta(seconds=300),
# 'on_failure_callback': some_function, # or list of functions
# 'on_success_callback': some_other_function, # or list of functions
# 'on_retry_callback': another_function, # or list of functions
# 'sla_miss_callback': yet_another_function, # or list of functions
# 'on_skipped_callback': another_function, #or list of functions
# 'trigger_rule': 'all_success'
},
description="A simple tutorial DAG",
schedule=timedelta(days=1),
start_date=datetime(2021, 1, 1),
catchup=False,
tags=["example"],
) as dag:
# t1, t2 and t3 are examples of tasks created by instantiating operators
t1 = BashOperator(
task_id="print_date",
bash_command="date",
)
t2 = BashOperator(
task_id="sleep",
depends_on_past=False,
bash_command="sleep 5",
retries=3,
)
t1.doc_md = textwrap.dedent(
"""\
#### Task Documentation
You can document your task using the attributes `doc_md` (markdown),
`doc` (plain text), `doc_rst`, `doc_json`, `doc_yaml` which gets
rendered in the UI's Task Instance Details page.

**Image Credit:** Randall Munroe, [XKCD](https://xkcd.com/license.html)
"""
)
dag.doc_md = __doc__ # providing that you have a docstring at the beginning of the DAG; OR
dag.doc_md = """
This is a documentation placed anywhere
""" # otherwise, type it like this
templated_command = textwrap.dedent(
"""
{% for i in range(5) %}
echo "{{ ds }}"
echo "{{ macros.ds_add(ds, 7)}}"
{% endfor %}
"""
)
t3 = BashOperator(
task_id="templated",
depends_on_past=False,
bash_command=templated_command,
)
t1 >> [t2, t3]
Testing Your Pipeline
Now it’s time to test your pipeline! First, ensure that your script parses successfully. If you saved your code in
tutorial.py within the dags folder specified in your airflow.cfg, you can run:
python ~/airflow/dags/tutorial.py
If the script runs without errors, congratulations! Your DAG is set up correctly.
Command Line Metadata Validation
Let’s validate your script further by running a few commands:
# initialize the database tables
airflow db migrate

# print the list of active dags
airflow dags list

# prints the list of tasks in the "tutorial" DAG
airflow tasks list tutorial

# prints the graphviz representation of "tutorial" DAG
airflow dags show tutorial
Testing Task Instances and DAG Runs
You can test specific task instances for a designated logical date. This simulates the scheduler running your task for a particular date and time.
Note
Notice that the scheduler runs your task for a specific date and time, not necessarily at that date or time. The logical date is the timestamp that a DAG run is named after, and it typically corresponds to the end of the time period your workflow is operating on — or the time at which the DAG run was manually triggered.
Airflow uses this logical date to organize and track each run; it’s how you refer to a specific execution in the UI, logs, and code. When triggering a DAG via the UI or API, you can supply your own logical date to run the workflow as of a specific point in time.
# command layout: command subcommand [dag_id] [task_id] [(optional) date]

# testing print_date
airflow tasks test tutorial print_date 2015-06-01

# testing sleep
airflow tasks test tutorial sleep 2015-06-01
You can also see how your templates get rendered by running:
# testing templated
airflow tasks test tutorial templated 2015-06-01
This command will provide detailed logs and execute your bash command.
Keep in mind that the airflow tasks test command runs task instances locally, outputs their logs to stdout, and
doesn’t track state in the database. This is a handy way to test individual task instances.
Similarly, airflow dags test runs a single DAG run without registering any state in the database, which is useful
for testing your entire DAG locally.
What’s Next?
That’s a wrap! You’ve successfully written and tested your first Airflow pipeline. As you continue your journey, consider merging your code into a repository with a Scheduler running against it, which will allow your DAG to be triggered and executed daily.
Here are a few suggestions for your next steps:
See also
Continue to the next step of the tutorial: Pythonic DAGs with the TaskFlow API
Explore the Core Concepts section for detailed explanation of Airflow concepts such as DAGs, Tasks, Operators, and more.