Writing logs to Amazon S3
Remote logging to Amazon S3 uses an existing Airflow connection to read or write logs. If you don’t have a connection properly setup, this process will fail.
Enabling remote logging
To enable this feature, airflow.cfg must be configured as follows:
[logging]
# Airflow can store logs remotely in AWS S3. Users must supply a remote
# location URL (starting with either 's3://...') and an Airflow connection
# id that provides access to the storage location.
remote_logging = True
remote_base_log_folder = s3://my-bucket/path/to/logs
remote_log_conn_id = my_s3_conn
# Use server-side encryption for logs stored in S3
encrypt_s3_logs = False
In the above example, Airflow will try to use S3Hook(aws_conn_id='my_s3_conn').
You can also use LocalStack to emulate Amazon S3 locally.
To configure it, you must additionally set the endpoint url to point to your local stack.
You can do this via the Connection Extra endpoint_url field.
For example, {"endpoint_url": "http://localstack:4572"}
Enabling remote logging for Amazon S3 with AWS IRSA
IRSA is a feature that allows you to assign an IAM role to a Kubernetes service account.
It works by leveraging a Kubernetes feature known as Service Account Token Volume Projection.
When Pods are configured with a Service Account that references an IAM Role, the Kubernetes API server will call the public OIDC discovery endpoint for the cluster on startup.When an AWS API is invoked, the AWS SDKs calls sts:AssumeRoleWithWebIdentity. IAM exchanges the Kubernetes issued token for a temporary AWS role credential after validating the token’s signature.
In order to access AWS services (e.g., S3) from Amazon EKS, it’s recommended to use IAM Role for ServiceAccounts. In the steps below, you will learn how to create a new IAM role with ServiceAccount and use it with Airflow WebServers and Workers (Kubernetes Executors).
Step1: Create IAM role for service account (IRSA)
This step is creating IAM role and service account using eksctl.
Also, note that this example is using managed policy with full S3 permissions attached to the IAM role. This is only used for testing purpose.
We highly recommend you to create a restricted S3 IAM policy and use it with --attach-policy-arn.
Alternatively, you can use other IaC tools like Terraform. For deploying Airflow with Terraform including IRSA. Checkout this example link.
Execute the following command by providing all the necessary inputs.
eksctl create iamserviceaccount --cluster="<EKS_CLUSTER_ID>" --name="<SERVICE_ACCOUNT_NAME>" --namespace="<NAMESPACE>" --attach-policy-arn="<IAM_POLICY_ARN>" --approve``
Example with sample inputs
eksctl create iamserviceaccount --cluster=airflow-eks-cluster --name=airflow-sa --namespace=airflow --attach-policy-arn=arn:aws:iam::aws:policy/AmazonS3FullAccess --approve
If you create your own IAM policy (as is strongly recommended), it should include the following permissions.
s3:ListBucket(for the S3 bucket to which logs are written)s3:GetObject(for all objects in the prefix under which logs are written)s3:PutObject(for all objects in the prefix under which logs are written)
Step2: Update Helm Chart values.yaml with Service Account
This step is using Airflow Helm Chart deployment.
If you are deploying Airflow using Helm Chart then you can modify the values.yaml as mentioned below.
Add the Service Account (e.g., airflow-sa) created by Step1 to Helm Chart values.yaml under the following sections.
We are using the existing serviceAccount hence create: false with existing name as name: airflow-sa.
workers:
  serviceAccount:
    create: false
    name: airflow-sa
    # Annotations are automatically added by **Step1** to serviceAccount. So, you dont need to mention the annotations. We have added this for information purpose
    annotations:
      eks.amazonaws.com/role-arn: <ENTER_IAM_ROLE_ARN_CREATED_BY_EKSCTL_COMMAND>

webserver:
  serviceAccount:
    create: false
    name: airflow-sa
    # Annotations are automatically added by **Step1** to serviceAccount. So, you dont need to mention the annotations. We have added this for information purpose
    annotations:
      eks.amazonaws.com/role-arn: <ENTER_IAM_ROLE_ARN_CREATED_BY_EKSCTL_COMMAND

config:
  logging:
    remote_logging: 'True'
    logging_level: 'INFO'
    remote_base_log_folder: 's3://<ENTER_YOUR_BUCKET_NAME>/<FOLDER_PATH' # Specify the S3 bucket used for logging
    remote_log_conn_id: 'aws_conn' # Notice that this name is used in Step3 for creating connections through Airflow UI
    delete_worker_pods: 'False'
    encrypt_s3_logs: 'True'
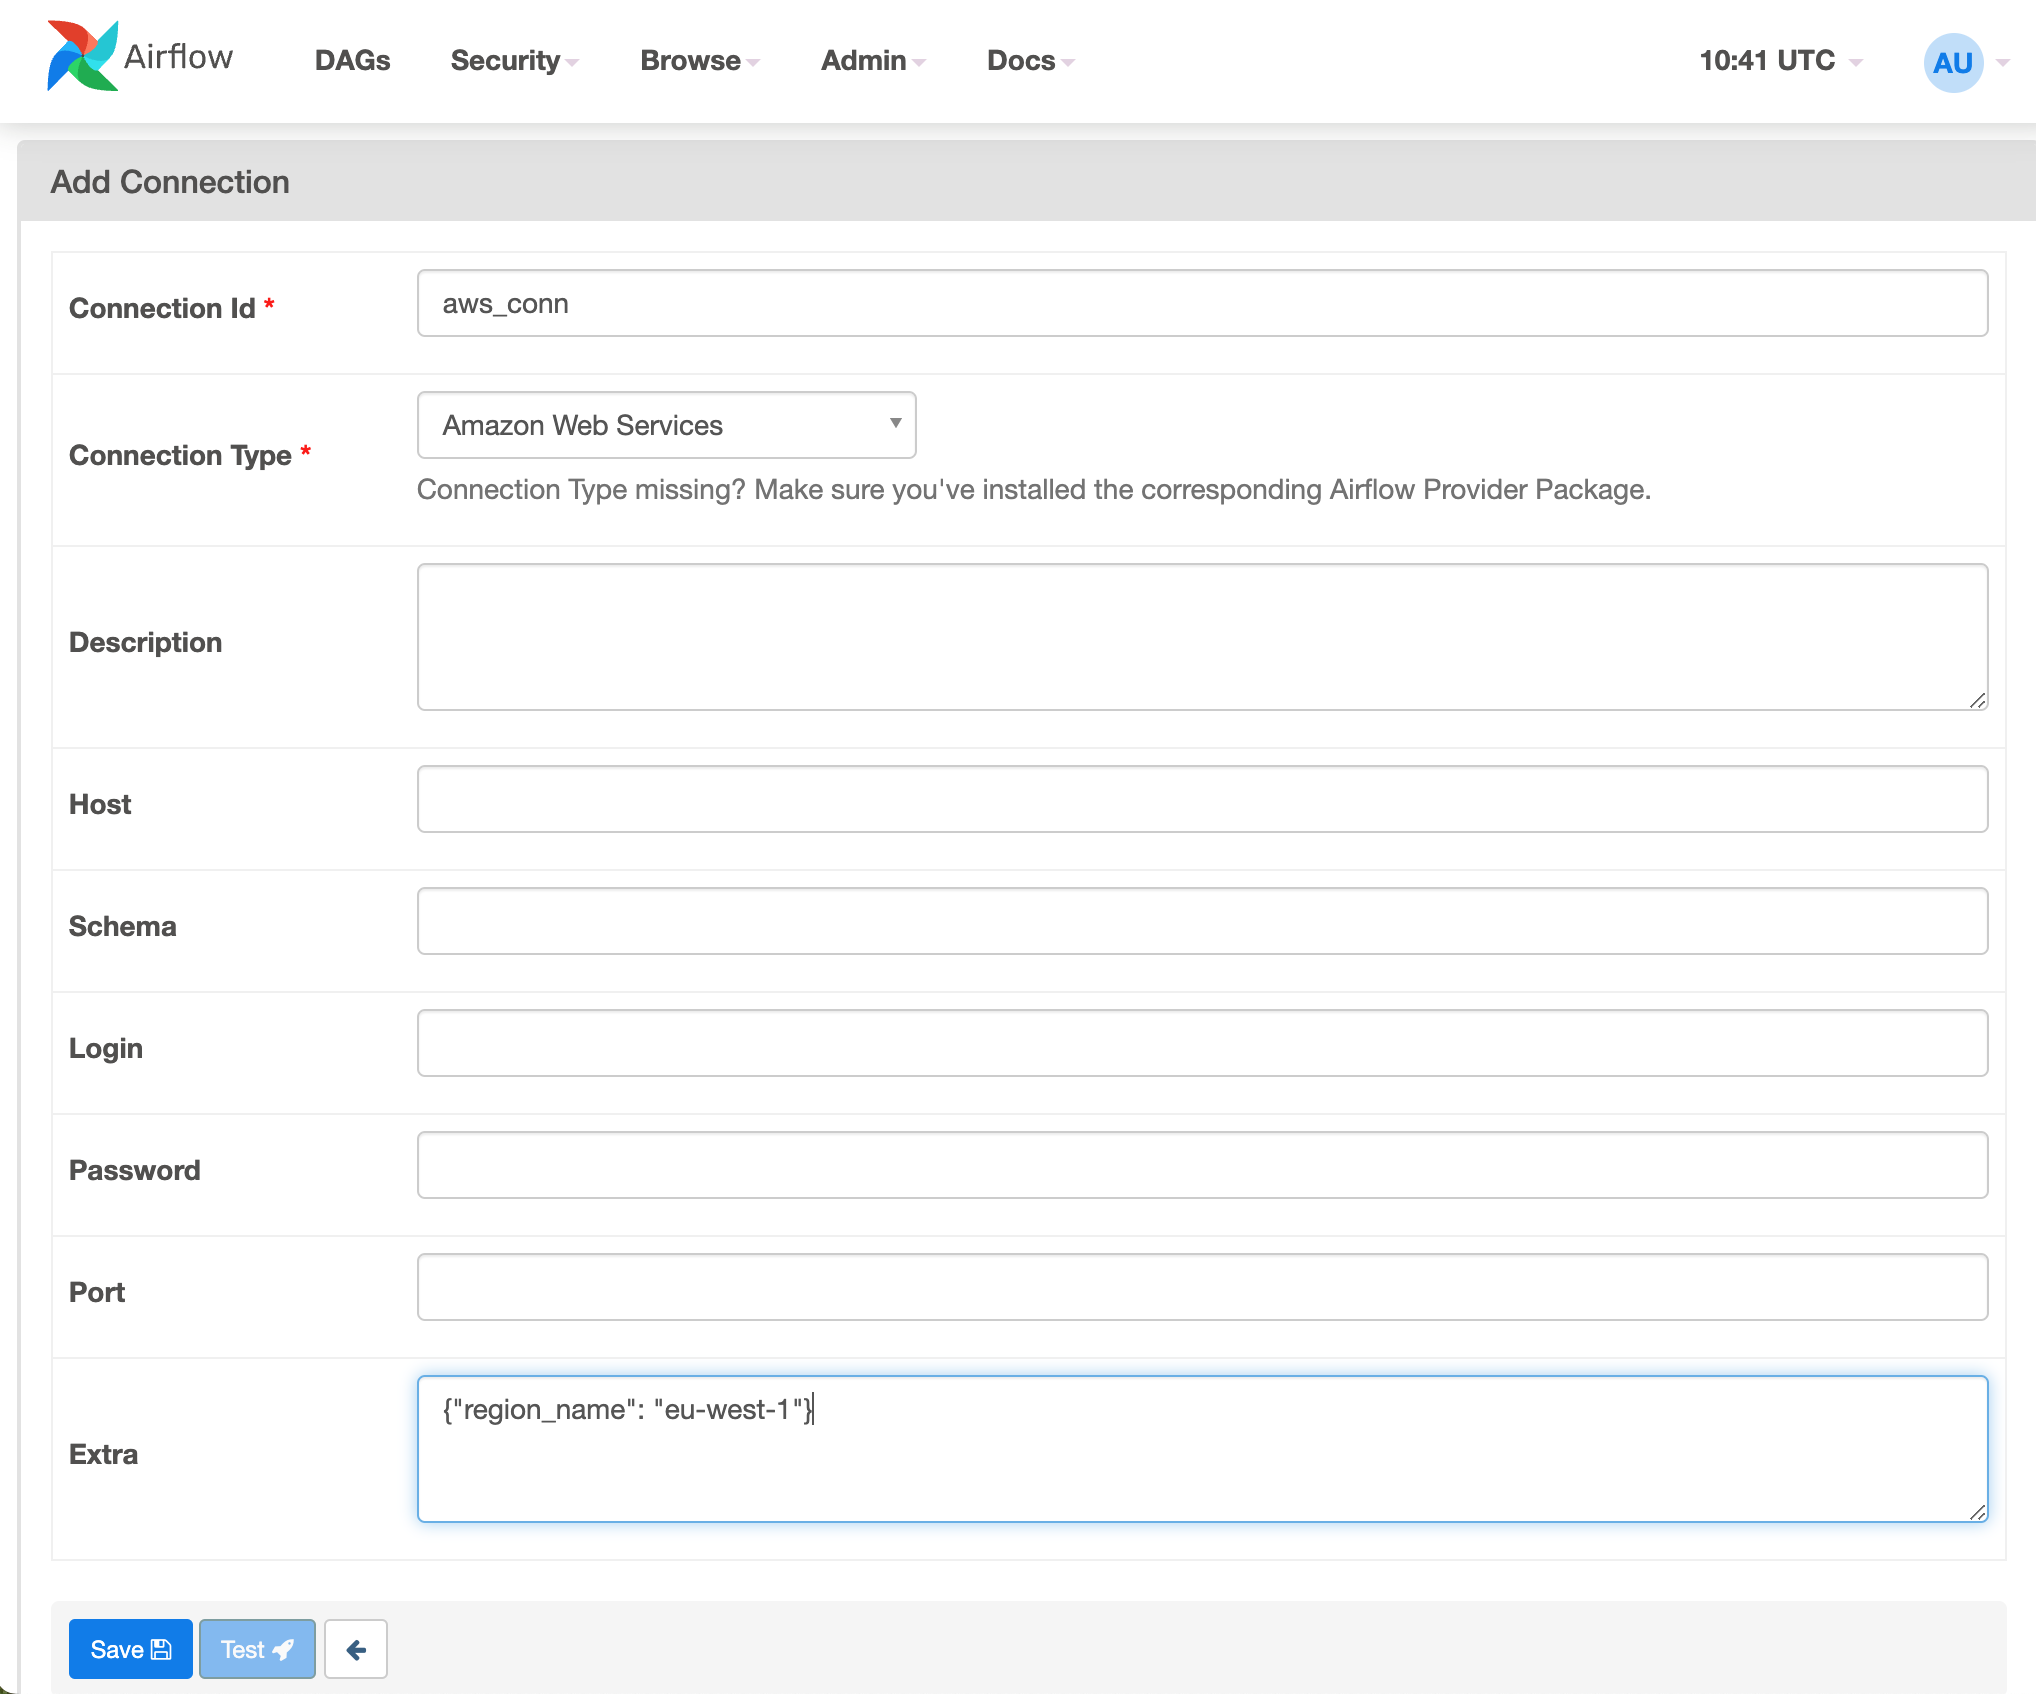
Step3: Create Amazon Web Services connection
With the above configurations, Webserver and Worker Pods can access Amazon S3 bucket and write logs without using any Access Key and Secret Key or Instance profile credentials.
Using Airflow Web UI
The final step to create connections under Airflow UI before executing the DAGs.
Login to Airflow Web UI with
admincredentials and Navigate toAdmin -> ConnectionsCreate connection for
Amazon Web Servicesand select the options (Connection ID and Connection Type) as shown in the image.Select the correct region where S3 bucket is created in
Extratext box.
Using Airflow CLI
airflow connections add aws_conn --conn-uri aws://@/?region_name=eu-west-1Note that
@used in-conn-uriparameter usually separates password and host but in this case it complies with uri validator used.
Step4: Verify the logs
Execute example DAGs
Verify the logs in S3 bucket
Verify the logs from Airflow UI from DAGs log